2.7.32 impEDF
Menu Information
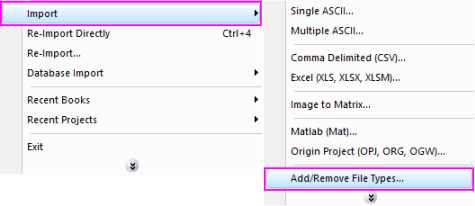
Data: Import from File: EDF(EDF+,BDF,REC,HYP)
If you do not see this file type, choose Data: Import from File: Add/Remove File Types...
Brief Information
Import EDF(EDF+,BDF,REC,HYP) files.
Additional Information
Minimum Origin Version Required: 8.5 SR0
Command Line Usage
impEDF fname:="C:\Osas2002plusQRS.edf";
X-Function Execution Options
Please refer to the page for additional option switches when accessing the x-function from script
Variables
Display
Name
|
Variable
Name
|
I/O
and
Type
|
Default
Value
|
Description
|
| File Name
|
fname
|
Input
string
|
fname$
|
File name(s) of the file(s) to be imported. Click the browse button beside the list box to open one or more files, and the file names will be listed in the box.
|
| File Information
|
trfiles
|
Input
TreeNode
|
<unassigned>
|
Information tree and annotations of the selected files.
|
| Import Options
|
options
|
Input
TreeNode
|
<unassigned>
|
This is used to set the import options in the dialog. Please see the Description part of this document for details.
|
| Output
|
orng
|
Output
Range
|
<active>
|
Output range of the imported data.
See the syntax here.
|
Description
This X-Function is used for importing EDF(EDF+,BDF,REC,HYP) data files.
Details on Some Dialog Options
-
- Please see this page for more details.
Examples
The following example shows you how to import the EDF data file C:\Osas2002plusQRS.edf:
Note that two new features are added to make data files more readable and manageable:
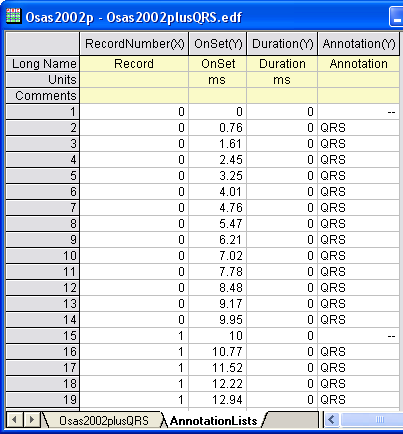
- An annotation list that describes detailed data information of the selected files is shown in a new worksheet.
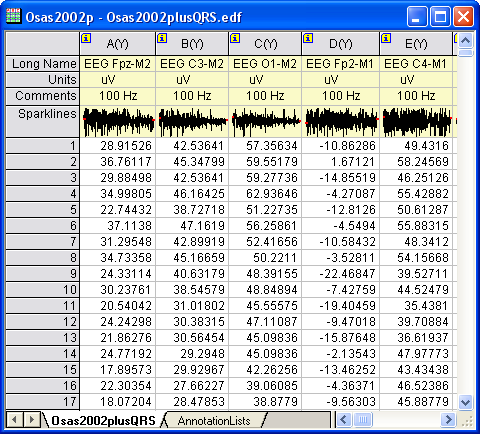
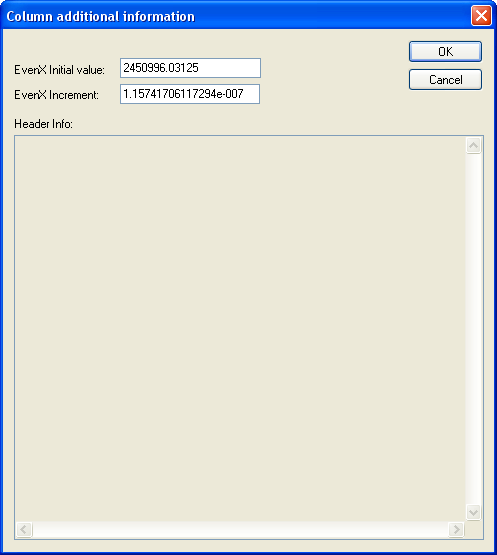
- Intervals for each data column can be defined in the Column additional information window.
- Create a new project. Select Data: Import from File: EDF... from the Origin menu. This opens the EDF dialog.
- Go to C:\Osas2002plusQRS.edf. Then click the Add File(s) button. Make sure that the Show Options Dialog check box is checked.
- Click the OK button to close this dialog box. The impEDF dialog should be opened.
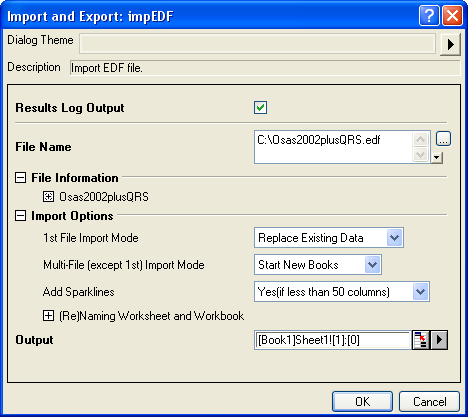
- In the File Information-osas2002plusQRS-signals branch, check all the check boxes including EDF Annotations.

- Click the interactive button next to Output, and then select the first column of the first sheet in Book1.
- Click the OK button. The selected data should be imported to the destination.
- A new worksheet named AnnotationLists, shown below, is added.
- Click
 in the Osas2002plusQRS worksheet. The Column additional information window is opened. in the Osas2002plusQRS worksheet. The Column additional information window is opened.
Related X-Functions
impFile
|