This App makes creating various graphs of grouped data easier by drag-and-drop columns.
Installation
Download the file Graph Maker.opx, and then drag-and-drop onto the Origin workspace. An icon will appear in the Apps Gallery window.
Features
- Drag and drop columns to setup the graph.
- Alter graph types with preview.
- Fitting for scatter plot.
- Allow modifying data without closing the dialog, which will get automatically updated when the window being activated.
- Graph settings are saved and can be re-loaded.
- Graph legend positioned automatically
- Search columns.
Basic Usage
- Activate the worksheet for graphing and click the Graph Maker app icon.
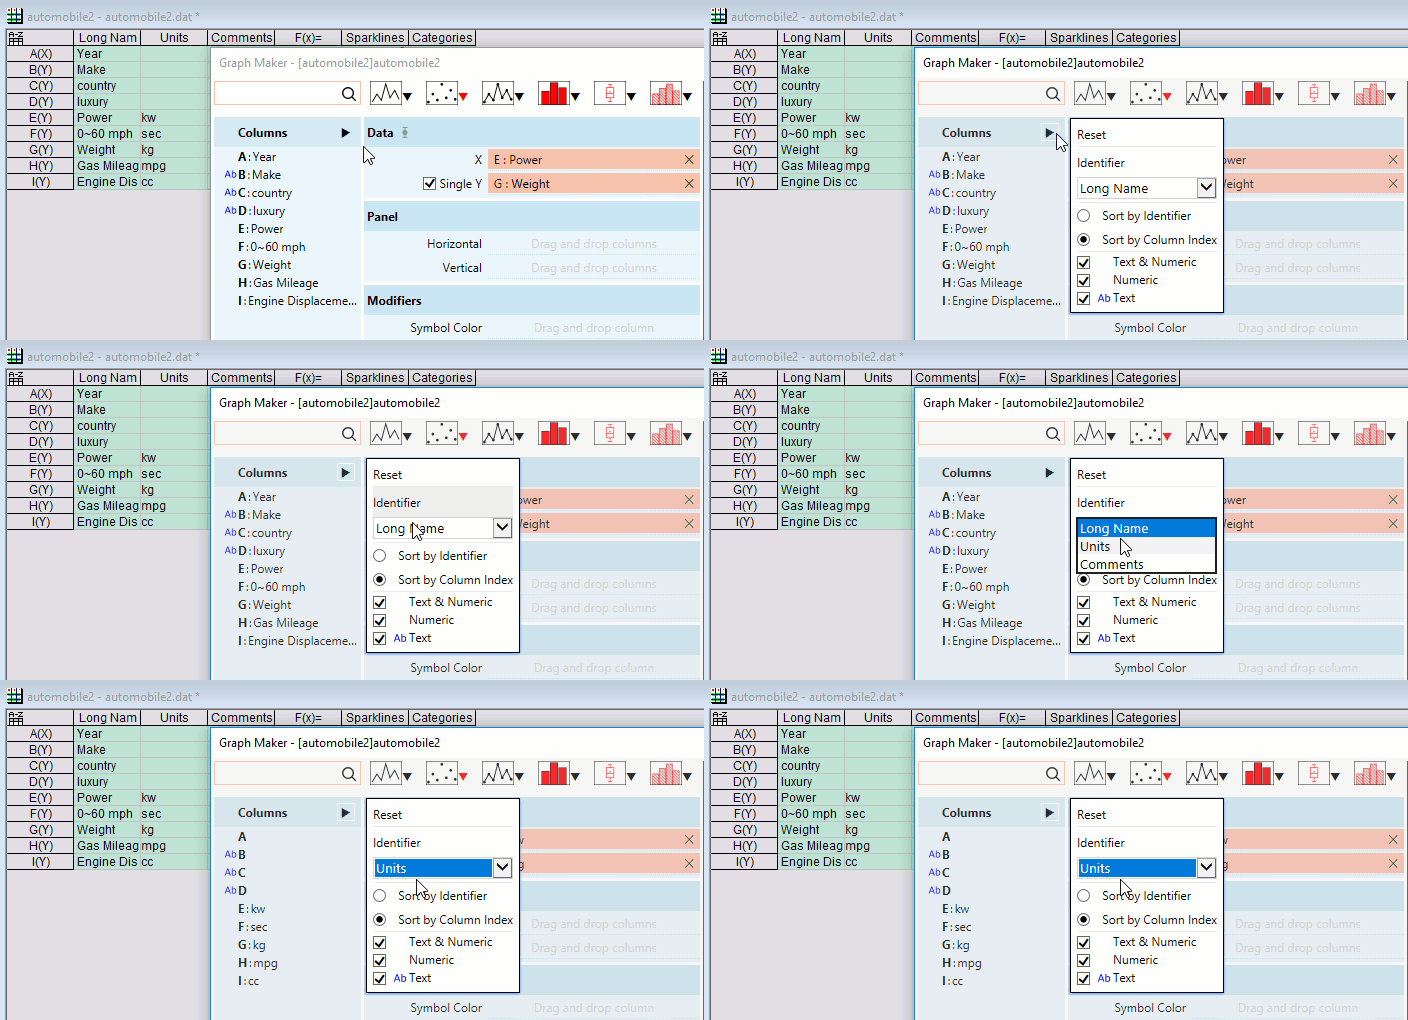
The app lists all columns of the worksheet with short names and an identifier, which by default is the corresponding long name and you can change it to Units, Comments or Parameters/User Defined Labels (if available).

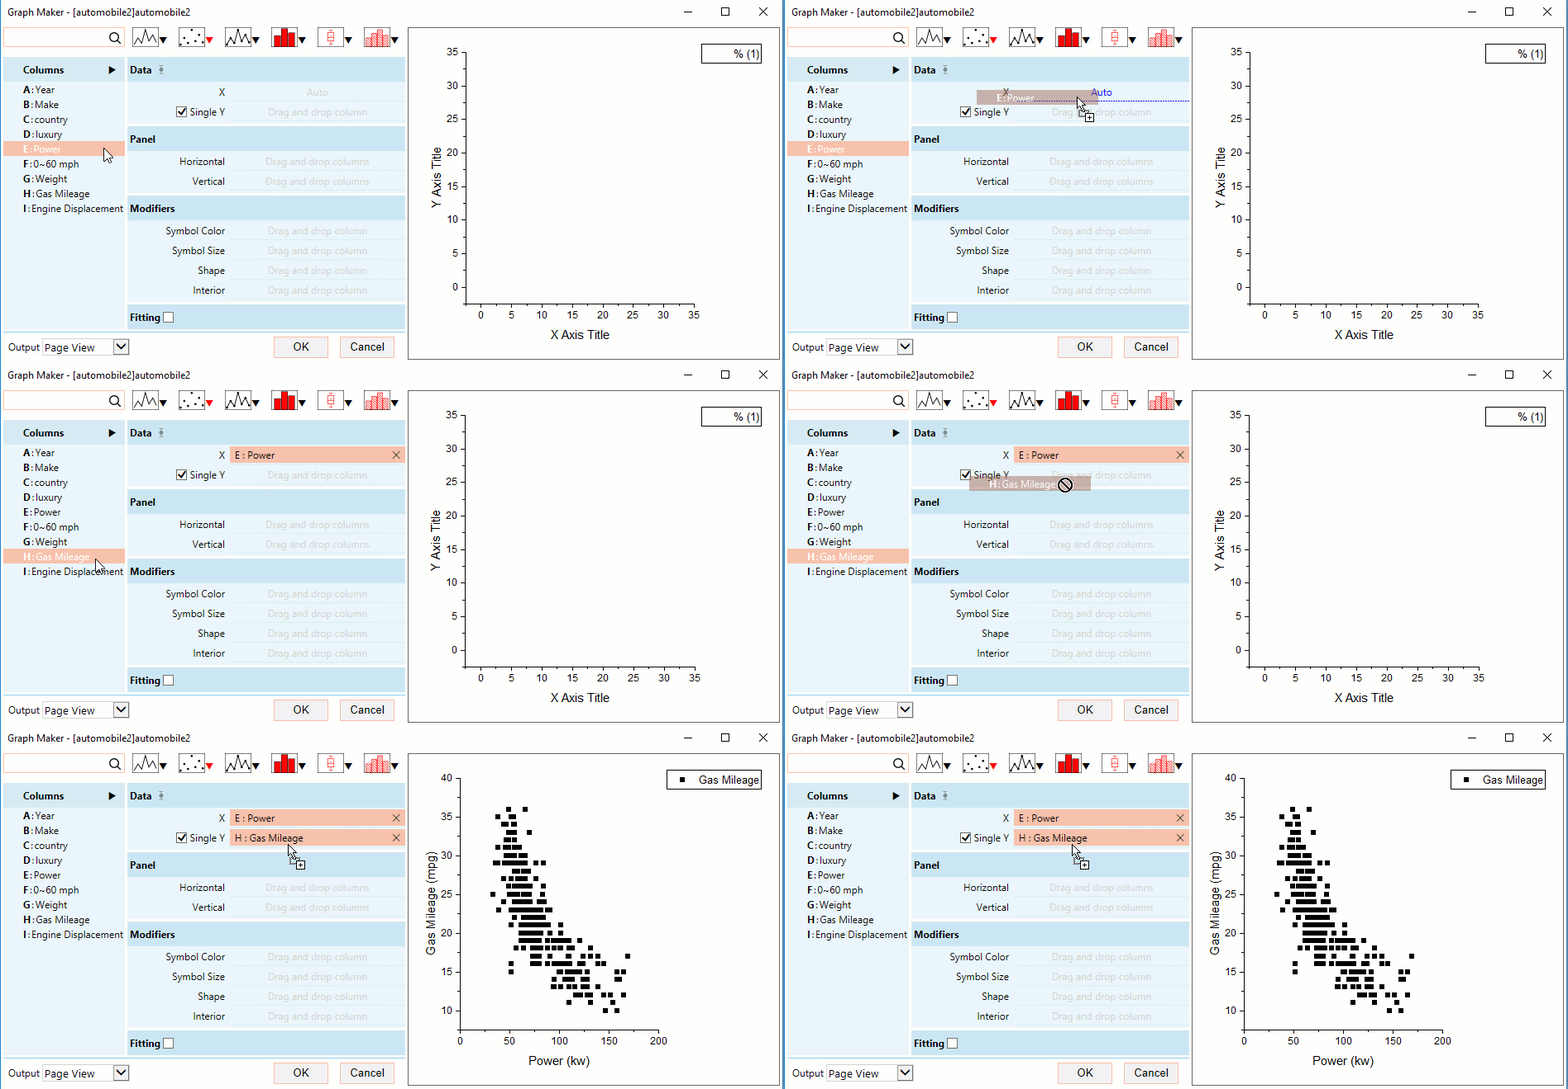
- Drag and drop columns to create a graph.
By default, it accepts only one Y column. Clear the checkbox before Y entry, you can drop more than one column there.

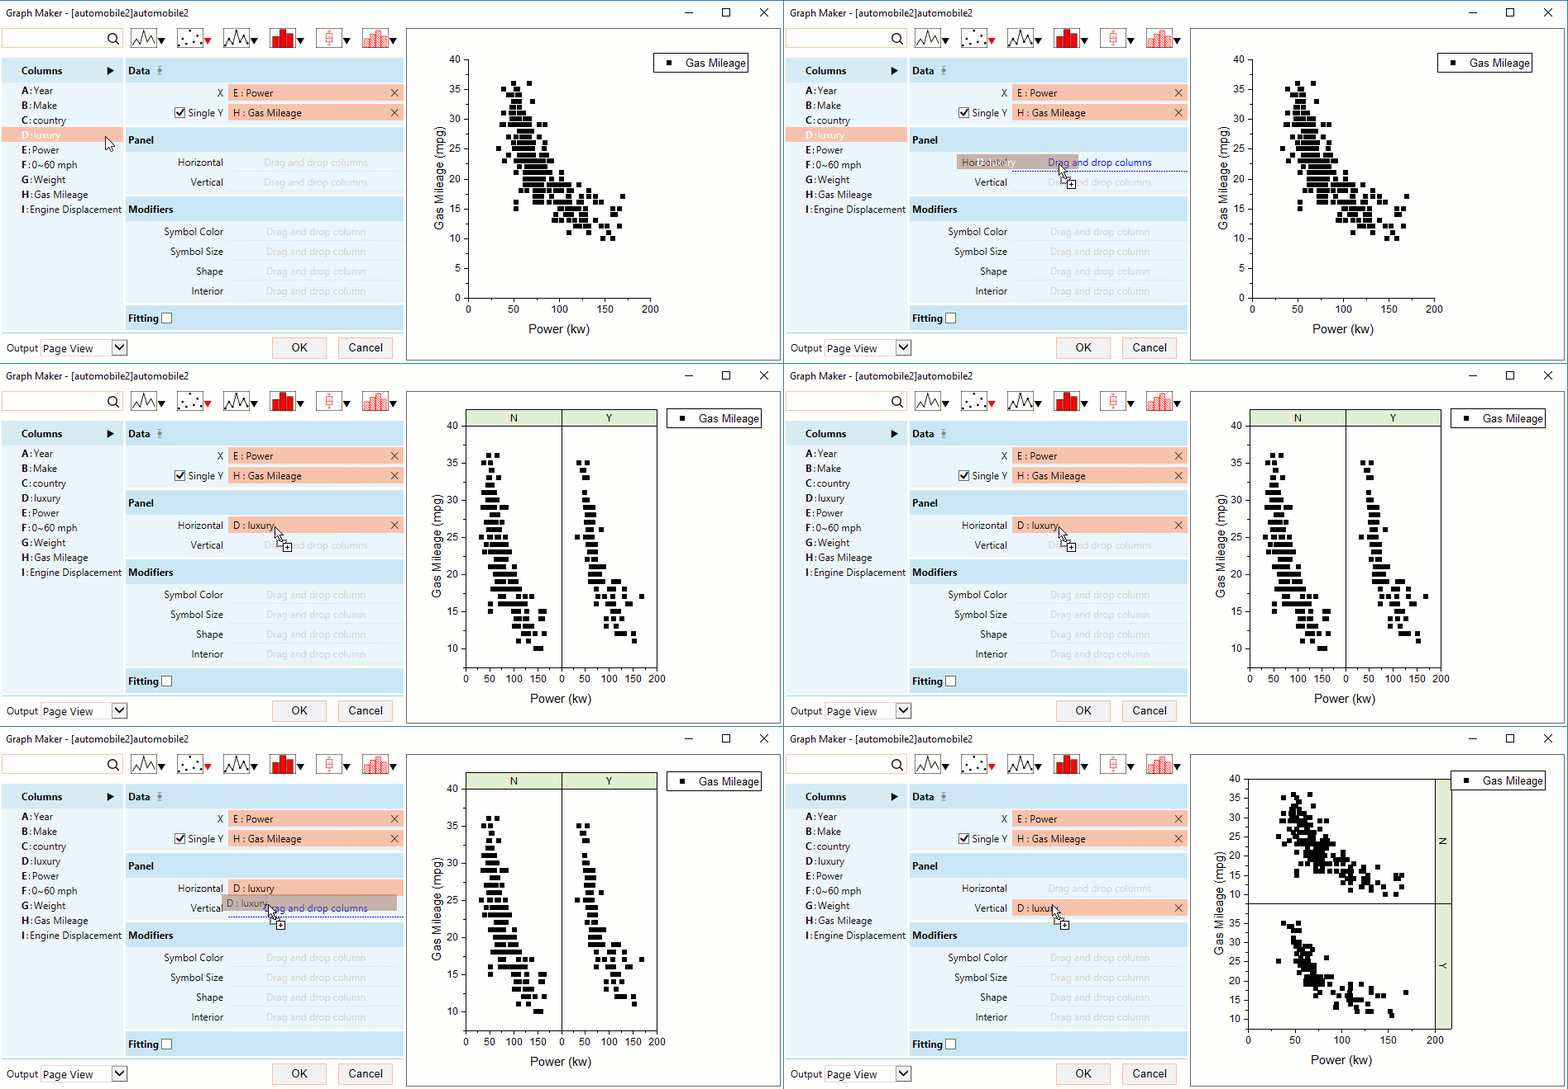
- Drag and drop columns to Panel to create a trellis plot.
You can also drag columns between drop zones.

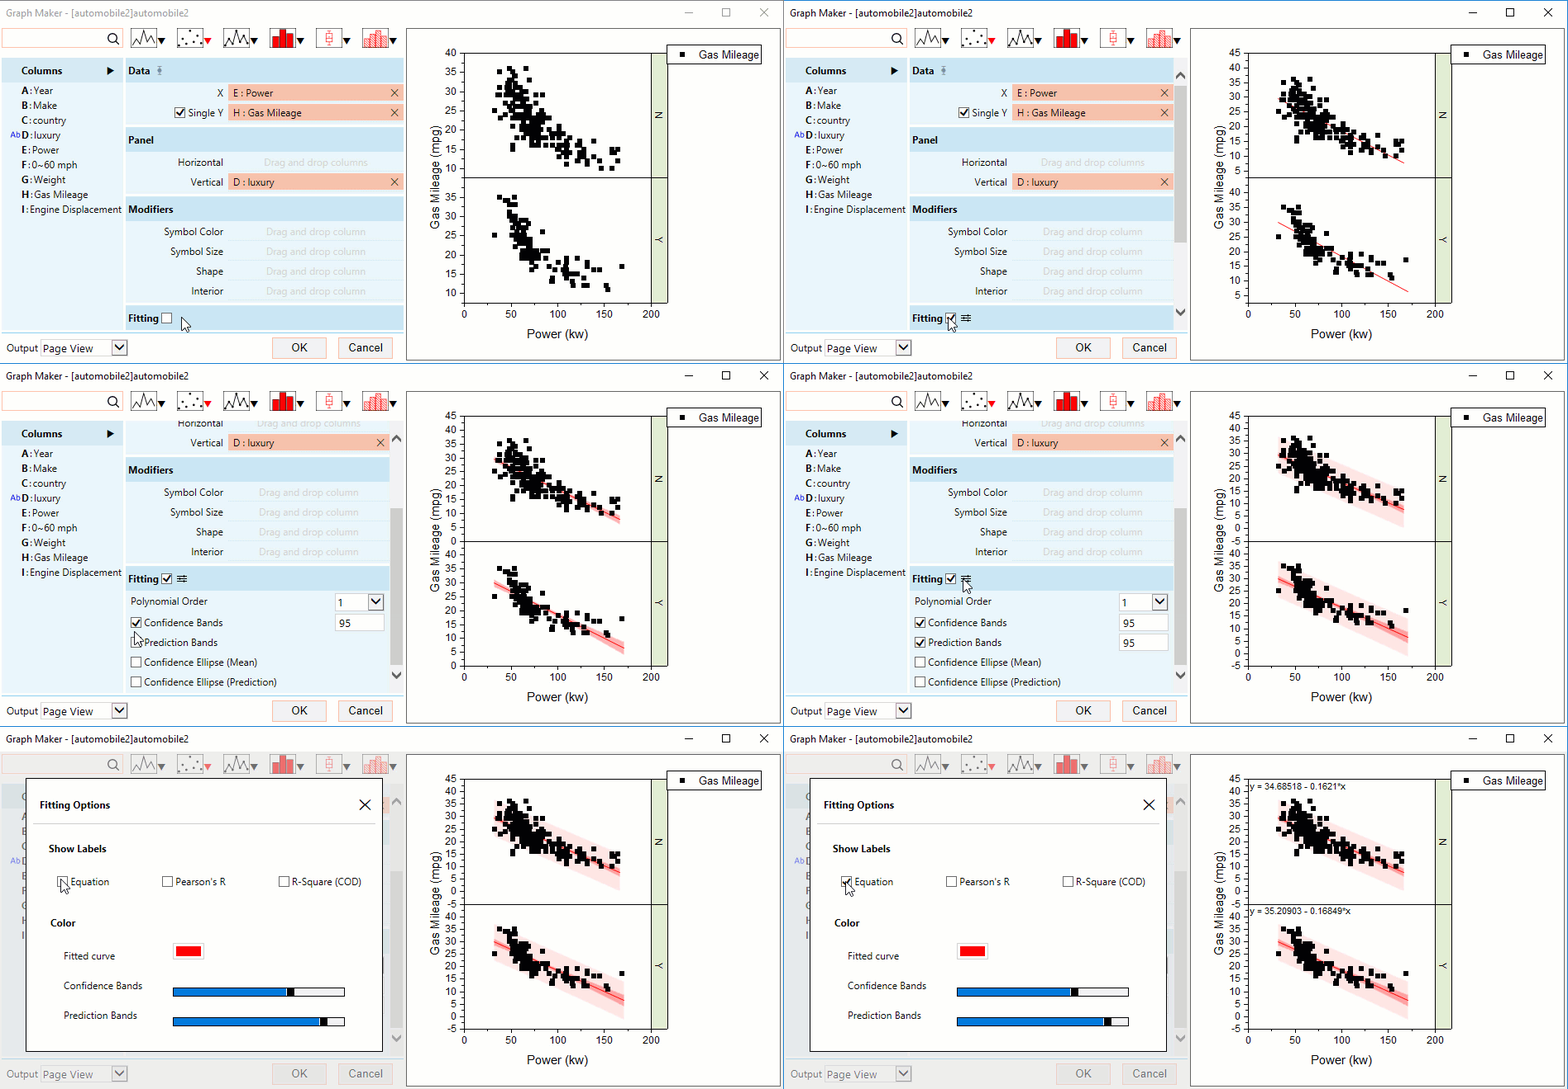
- Enable linear/polynomial fitting.
Fitting is available for plot of some types. When fitting is enabled, you can easily customize the graph to show confidence/prediction bands and to show fitting results on the graph.

- Modifying the results label.
You can modify the numeric display of the results (e.g. R-square value) by right-clicking on the label and choosing Properties. Control displayed significant digits of a parameter or statistic by entering a value after the asterisk (*) inside the text string. For example, to force R-Square to display with 2 significant digits, modify the label to read R-Square (COD): $(cod,*2). Note that fit parameters are represented as "a0", "a1" etc. Pearson's r is represented as "pr" and R-Square (COD) as "cod."