2.1.18 Floating WindowsFloating-Windows
From Origin 2023b, Origin Windows can be moved outside of the Origin workspace as an independent windows. These Floating Windows have customizable Menus and Toolbar buttons, so you don’t have to move back to the main Origin window to access them.
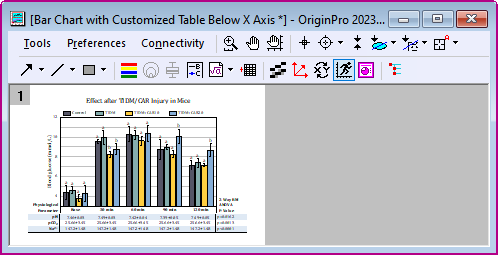
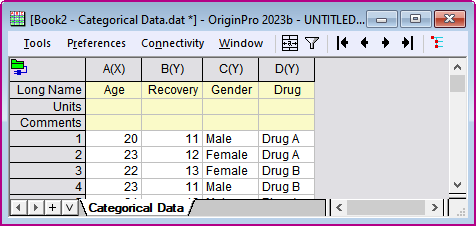
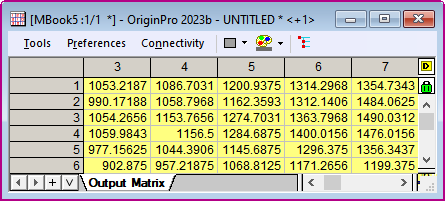
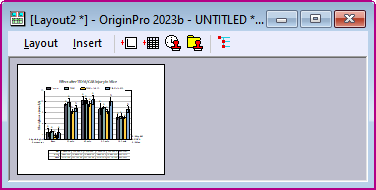
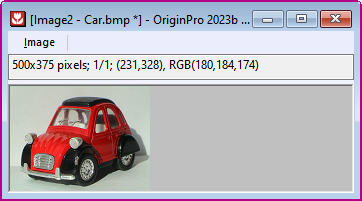
Any Origin Window, including Workbooks, Matrix books, Graphs, Layouts, and Image Windows can be moved outside of the Origin workspace as Floating Windows.
Save and close the project file with floating windows. These windows will keep floating when the project is reopen.
How to Float a Window
By dragging outside
The Floating Windows feature can be toggled on and off with the option Windows: Float Windows. If it is turned on, Origin Window can be dragged outside of the Origin Workspace.

Note: The system variable @FWD controls the drag directions allowed for window floating:
- @FWD=0: All drag directions enabled
- @FWD=1: Horizontal direction only (default)
- @FWD=2: Vertical direction only
|
By Menu
When there are multiple monitors on your machine, the active window can be Floated by selecting Window: Float Active Window or using the hotkey Ctrl + F9.
- If a window is maximized in the Origin Workspace, using the hotkey or menu will make it floating and maximized on the second monitor.
- If there are multiple monitors on your machine, the system variable @FWLM can control the window float to which monitor.
For example:
Run @FWLM=2; in the Script Window, and click the Window: Float Active Window, then the active window will float to the second monitor.
Retract Floating Windows
- A single window can be dragged and dropped back into the Origin workspace.
- To move all Floating Windows back into the Origin Workspace, use the hotkey Ctrl + Shift + F9 or Window: Retract Floating Windows.
- Run the following Labtalk Script to move all Floating Windows back into the Origin Workspace
document -fma;
 | If switching to other folders, the above point 2 and 3 methods are used to retract all floating windows to their own folders.
If you want to retract all floating windows to the current folder (whatever it is their own folders or not), you can run this Labtalk Script.
document -fmac;
|
Labtalk Script Control Floating
Use labtalk Script to control the active window to float or retract.
page.floating=0; //Retract the active floating Windows

page.floating=1; //The active window will float. If there are multiple monitors, the window will float to the 1st monitor.

page.floating=2; //The active window will float to second monitor.

page.floating=@FWLM; //The active window will float to the monitor that is specified by system variable @FWLM
Toolbars Buttons and Menus
The Floating Windows have their own menus and toolbar buttons. If some menus and buttons do not show in the Floating Window, you can go back to the main Origin Window to select these tools.
Customize Menus
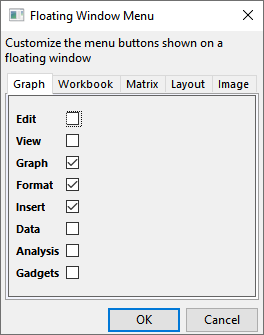
The menus shown can be customized by Floating Window Menus dialog, which can open by selecting Preferences: Customize Floating Window Menus.
For example:
Customize Toolbars Buttons
- The Toolbar buttons can be customized by going to View: Toolbars or Ctrl +T. In the Customize dialog, it supplys Floating Graph, Floating Layout, Floating Matrix and Floating Workbook under Toolbar tab. Select the type of Floating Window toolbar you want to edit, and then drag and drop buttons you want to add from the Button Groups tab.
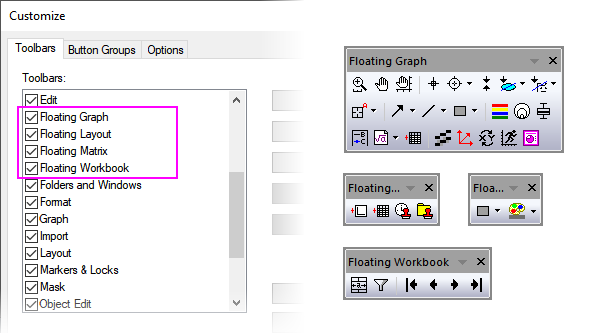
For example:
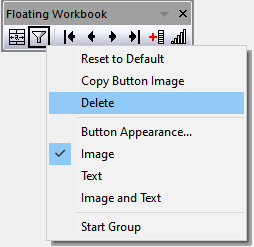
- Right-click and delete the buttons you want to remove.
- The last group on Button Groups tab is for installed Apps in Origin. You can also drag your favorite apps to floating window toolbar.
Object Manger
Show/Hide Object Manager
The Object Manger for each floating window can be toggled on and off with the  button. button.
Object Manager in main frame and in floating window
- If Object Manger in main frame is shown and docked, when floating a child window, the Object Manger will show inside floating window.
- If Object Manger in main frame is not docked, when floating a child window, the Object Mange inside it will be hidden by default.
- Object Manager in main frame works for active window. Object Manager in the floating window just for the floating window. If the floating window is the active window, then two Object Manager will show the same contents.
Location of the Object Manager
- You can control the location of the Object Manager with the Labtalk script Page Property page.fwom. When you run the Labtalk script, the location will change instantly.
page.fwom=0; //Hide the Object Manager

page.fwom=1/2/3/4/5;  //Corresponds to setting the Object Manager to the Top/Left/Right/Bottom/Float position

page.fwom=10; //If you Object Manager is hidden, you can use this to activate its last set position
- The system variable @FWOM decides the location of the Object Manager for new created window when they are floating.
Note: this system variable will not changed the existing window setting. It only can affect the new added windows.
@FWOM=0;  // Hide the Object Manager

@FWOM=1/2/3/4; // Object Manager on top/left/right/bottom  ( 3 is default value)

@FWOM=5;  //Object Manager is floating
For example:
- Object Manger in main frame is not docked. By default @FWOM=3, when you create new window Book1 and drag it outside of the Origin Workspace, then click the button to show Object Manager, the Object Manager is on the right side.
- Run @FWOM=2; in the Script Window, the location of the Object Manager in existing window Book1 is not be changed. But when you create a other new window Book2 after the system variable changed, then set it to float and show Object Manager, at this time the Object Manager is on the left side.
Note:
- @FWOM only can effect the new created child window. If the child window is dragged to float and change position of Object Manger, the child window will remember this new changed and is not effected by @FWOM again.
- When the Object Manger in main frame is not docked, even the system variable set to @FWOM=1/2/3/4, the Object Manager in the new floating window still keep to hide. When the Object Manger in main frame is docked, the Object Manager in the floating window will follow @FWOM setting.
- When the Object Manger in main frame is shown (docked or floating), the system variable set to @FWOM=0, the Object Manager in the floating window is hidden.
- When the Object Manger in main frame is floating, the system variable set to @FWOM=5, the the Object Manager in the floating window is floating too.
|
Floating Window Auto Pinned
- When drag a window outside of workspaces as floating Window, it will auto set to pin and the
 button shows on title bar. When retracting window to main workspace, the window auto unpin. button shows on title bar. When retracting window to main workspace, the window auto unpin.
- The Floating Windows keep to show in outside of workspaces, even the system variable @PWS=0. That is different from the non-floating pinned window. It can refer to Pin Windows section.
- The original folder information will show in pinned window title, if current folder isn’t the floating window’s own folder.
- To go back to the floating window own folder, click the Go to Original Folder
 button in the Folders and Windows toolbar, or select Go to Original Folder in the context menu of window header. button in the Folders and Windows toolbar, or select Go to Original Folder in the context menu of window header.
- It is easy to move a floating window to current folder by dragging it back to the workspace.
Floating Window in Project Explorer
In the bottom panel of Project Explorer, Origin uses different color on window name to indicate floating windows.
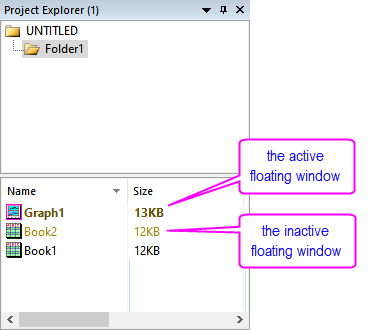
| The system variable @FWCA and @FWCI can be used to specified the name color for the active and inactive floating windows.
@FWCA=color(0,255,0,1); //Set name color for active floating window to green.
If you want to roll back to the default color, you can open select Preferences: Set System Variables to open the dialog and delete the @FWCA or @FWCI item.
|
Bringing up dialogs in Floating Windows
The current logic for the initial dialog location is that it will appear at the center of the monitor where your cursor is located. If you decide to move the dialog to a new position, its location will only be remembered in that particular Origin session. Once you restart Origin, it will use the cursor position again.
For example, you have two graph windows, one in the main Origin workspace on the main monitor and the other is a floating graph on a secondary monitor. If your cursor is in main workspace and you open the Plot Details dialog by double-clicking the graph window, it will appear on the center of main monitor. If you double-click the floating graph window to open the Plot Details dialog, your cursor will be on the secondary monitor and thus the dialog will appear at the center of that monitor.
If you decide to reposition the dialogs, you should know that the dialog positions are unique for each monitor. In the example above, try repositioning the Plot Details in the main monitor and secondary monitor. You will see that the locations are remembered separately. And again, restarting Origin will reset the locations and will revert back to the cursor logic.
|